
How to make engaging virtual lessons for students
Virtual lessons are a great way to share content to your students, and other educators. It means your students are able to learn no matter where they are, or have the content to look back on a later date.
Sometimes, having a lesson plan is the easiest part and recorded and uploading the lesson can be daunting. But we’ve got a step-by-step guide on how to record, upload, and share your presentations.
We’ll be doing this through PowerPoint and Microsoft Stream, which makes it easy to use and accessible, with transcripts and captions.
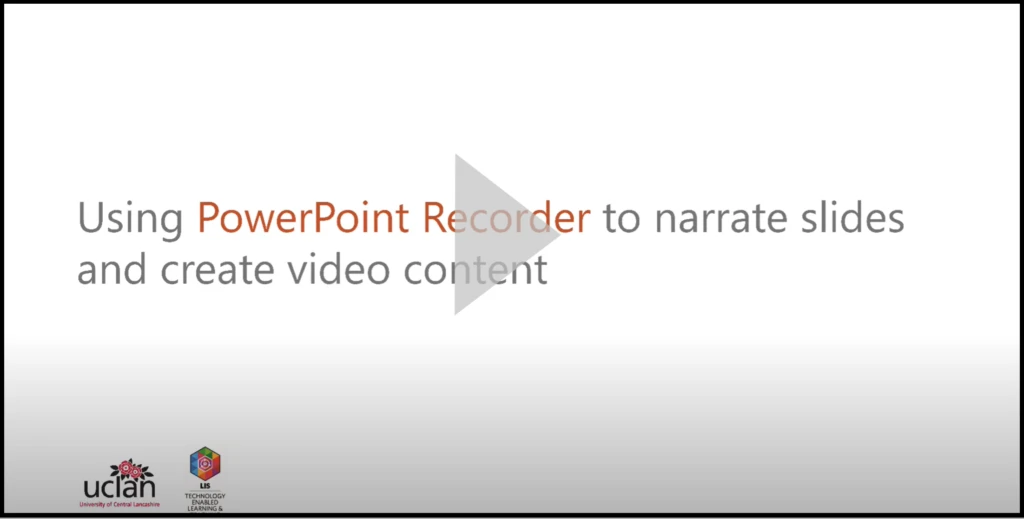
Add narration and record your PowerPoint presentation
PowerPoint has a really great feature to help you easily develop new content by adding audio narration to existing slides. This can also prove really useful for students when recording assessed presentations.
Top tip: Presentation Coach helps you prepare in private to give more engaging presentations.
1. Setting up the Recording tab in PowerPoint
Before you can use the Recording feature, you will need to make sure it’s in your main ribbon in PowerPoint.
- Go to File, then Options, choose the Customise Ribbon tab.
- On the list on the left hand side, change Popular Commands to All Tabs and find the Recording tab. Press add and it will move to your Ribbon. Press OK.
- On the main ribbon tab, go to Slide Show, and it should be there.
2. Recording audio narration over your slides
Once you have added the Recording tab, you can then use the Record Slide Show function. This will allow you to record audio and video, over each slide in the sequence. You can pause or stop at any time, and re-record any sections that you are not happy with.
3. Exporting your slides as a video
Once you’re happy with the audio-narrated slide content, you can then proceed with exporting it to a video. This can either be exported locally to an MP4 video file, or alternatively, published directly to your Microsoft Stream account when using Office 365.
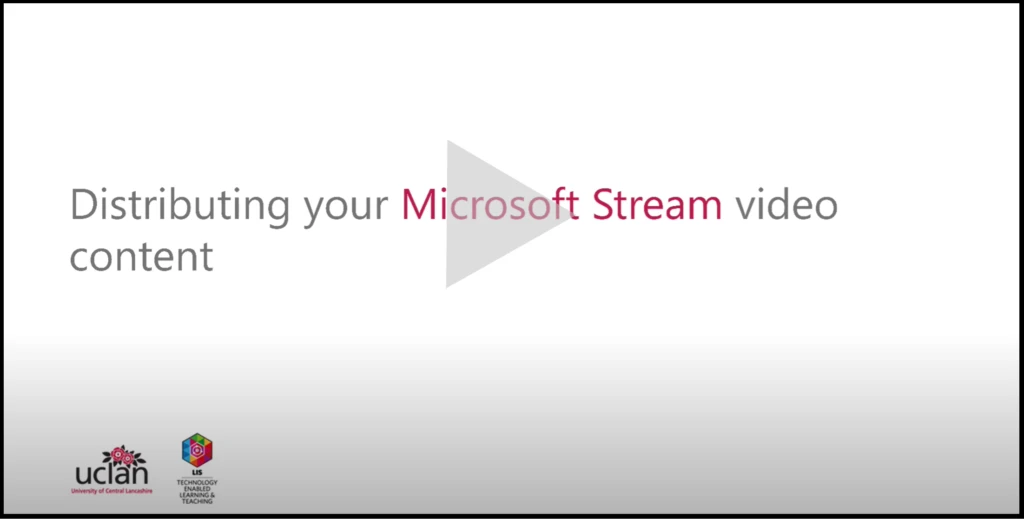
Effectively sharing your virtual lesson on Stream
Once you have uploaded your presentation to Stream, you will want to share them with your learners. You also might want to share other videos with colleagues or learners. These could include Microsoft Teams Meeting recordings, or other content.
The great thing about Stream is it can autogenerate captions using Automatic Speech Recognition technology. These are also available as a transcript so users can look for specific points in the video later on.
Top tip: Make your lesson more engaging by adding a quiz using Microsoft Forms.
1. Turn on captions on your video
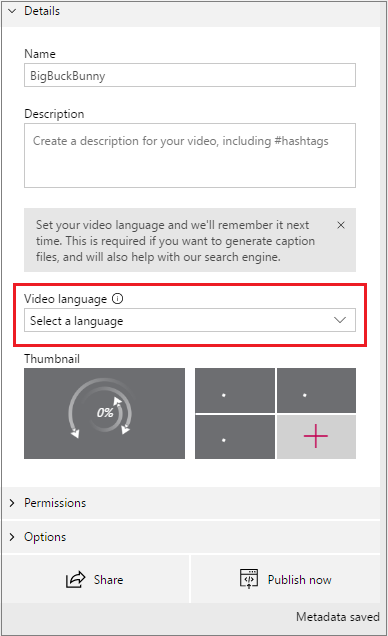
If you’ve already uploaded a video, you can go to the Edit Video option. Otherwise, you can do this as you’re uploading a video. In the Details section, select your supported language.
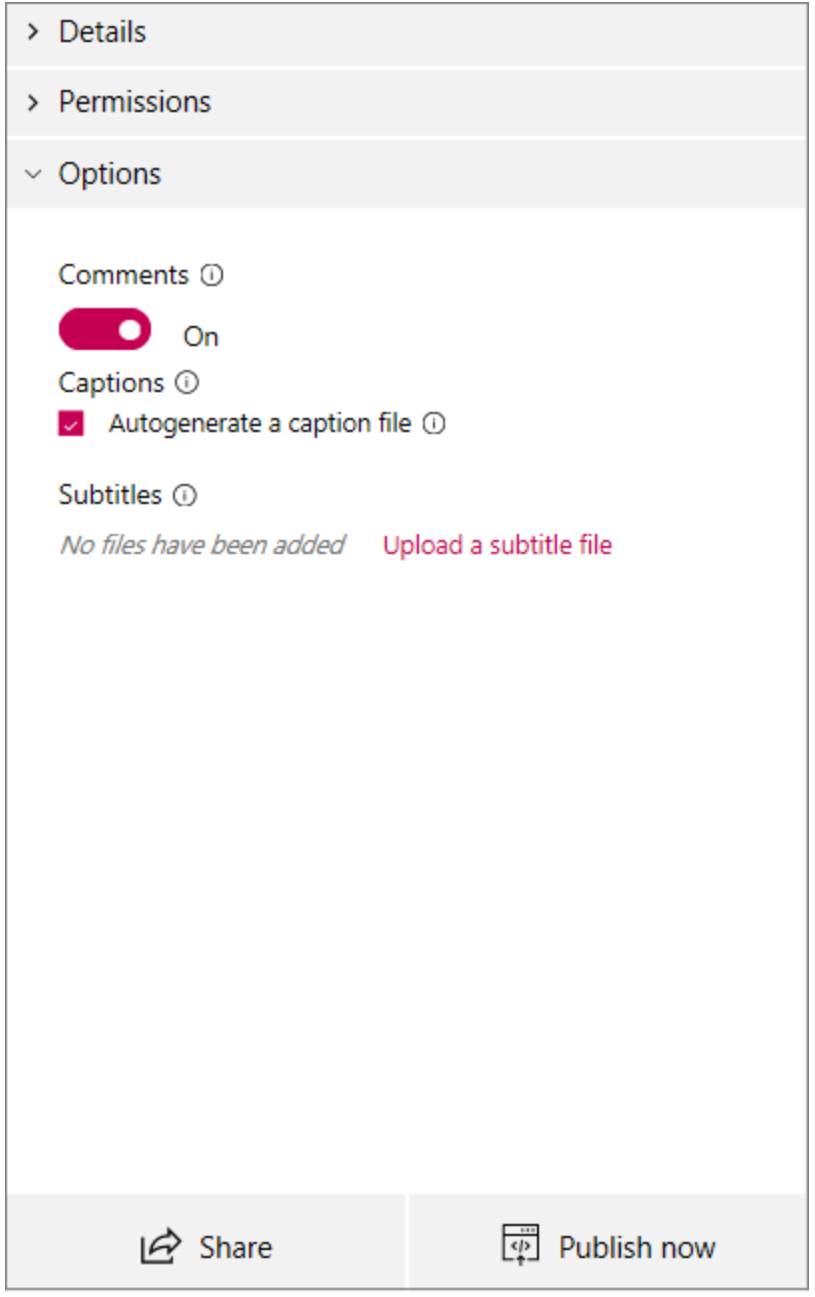
On the Options tab, set Autogenerate captions to On.
It may take a while for the captions to generate – It typically takes 1-2 times the video’s duration. For example, a one hour video, could wait around two hours to finish processing.
2. Sharing an individual virtual lesson in Microsoft Stream
Once signed-in to Microsoft Stream, your video content can be found under My Content. Individual videos can be shared easily via web-link, email or embed code.
3. Curating and sharing a Channel of Stream video content
By creating a Channel in Stream, you can group related video content for easy access and viewing. This can prove particularly useful for curating collections of video-based learning resources.
4. Adding your virtual lesson to Microsoft Teams
As well as sharing your Videos and Channels using a link, email, or embed code – you can also embed content directly into Microsoft Teams. This helps maintain a streamlined experience for your learners, and ensures content is organised and accessible within the learning environment.
Creating engaging virtual lessons
By using PowerPoint and Stream, you can deliver engaging, accessible virtual lessons that you can share to your Class Teams, or share with learners and other educators. This will help create a fun, smooth learning experience for everyone, no matter where they are.
Find out more
Discover our remote learning resources
About the author
 Chris is a Senior Learning Technologist at the University of Central Lancashire, and a Fellow of the Higher Education Academy. Since 2018, he has led development of UCLan’s innovative and sector endorsed DigiLearn model, to recognise and reward the inclusive digital practice of academic colleagues. Widening collaboration across the sector, Chris also co-ordinates UCLan’s DigiLearn Sector – a community fostered to connect digital practitioners from across HE, FE, schools, and beyond. As a Microsoft Learning Consultant, Chris now works with other institutions – supporting their adoption of Microsoft technologies, to improve both staff and student outcomes. He is also producer and co-host of the EdTech Talks podcast, and you can follow him on Twitter @ChrisLearnTech.