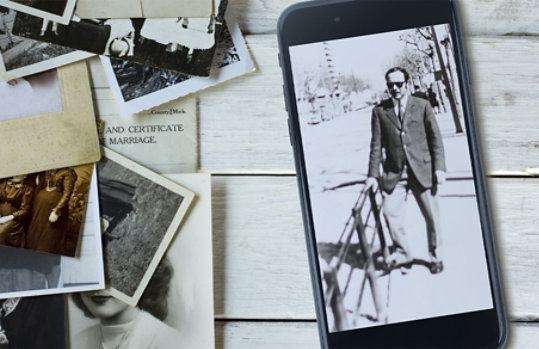
Now’s a great time to dust off those off, digitize them, and share with friends and family. It’s much easier than you might think, thanks to the OneDrive app.
1. Gather your pictures.
Pull them out of your photo albums, dig them out of the boxes in your basement or storage, and select your favorites. You might discover that you have some photos you want to digitize and preserve for yourself, and others that you can’t wait to share.
2. Download the OneDrive app for your phone.
There’s no need to send your photos to a photo scanning service or buy a bulky scanner. It’s easy and convenient to use the OneDrive app to scan and digitize your photos. And even better, once your photos are in OneDrive, you can access them from your phone or any device anytime at www.onedrive.com/, so you can do a photo “show and tell” wherever you are.
Download and install OneDrive on your phone: iPhone | Android Or, if you already have the app, make sure you have the latest update.
3. Set up your folders.
If you have a lot of photos, the process will be easier if you create OneDrive folders first to help organize them before starting to digitize them.
To figure out what folders you’ll need, put the physical photos into piles.
Some ideas for photo organization:
Organize your photos in the way that works best for you—it might end up being a combination. There’s no wrong way to do it, and you can always add tags to photos and move things around later.
Once you’ve made your piles, open the OneDrive app on your phone. Then select Add + > Create a Folder. Name the folder something like “Family photos” and select Done. Then create sub-folders based on your piles of photos (select Add +). Note: If you don’t have many photos, you might not need subfolders.
Now you’re ready to start digitizing!
4. Take a scan of each photo.
In the OneDrive app on your phone, select the camera button, then swipe left a few times and select PHOTO. Snap a picture of your first photo. Here are some tips to help you digitize the photo:
After it’s captured, edit the photo however you’d like using the options in the OneDrive app (crop, rotate, add a filter). Then select Done and save the scan to the OneDrive folder you set up in step 3.
5. Add any other photos.
If you already have photos on a computer, social media, or other online location, add them to OneDrive so they’re all organized. You can do this with your phone and the OneDrive app, or on your computer if it’s easier for you (browse to www.onedrive.com/ and sign in).
Learn how OneDrive can help you organize and find your photos with features like photo search, tags, and albums.
6. Share the memories and invite others to add.
When you’re done, it’s time to share! Open the OneDrive app and select More … next to the folder you want to share, select Share, then choose how you’d like to share it (text message or email, plus there are other options too).
Inviting family and friends to add their own photos is a great way to get a collection of everyone’s printed photos in one place, without sending large file attachments or losing track of them in email. It’s a shared memory bank for everyone to enjoy old photos they might never have seen before. Plus, the photos are protected in the cloud, and everyone can go back to them at any time, from any device.
7. Create new memories with old photos.
Now that you’ve got a great collection of old photos, there are so many things to do with them.
For more info on OneDrive and your photos, check out these topics:
Organize and find photos in OneDrive
Manually upload files or photos to OneDrive in iOS
Manually upload files or photos with OneDrive for Android
Upload photos and files to OneDrive (Windows)
Share this page